

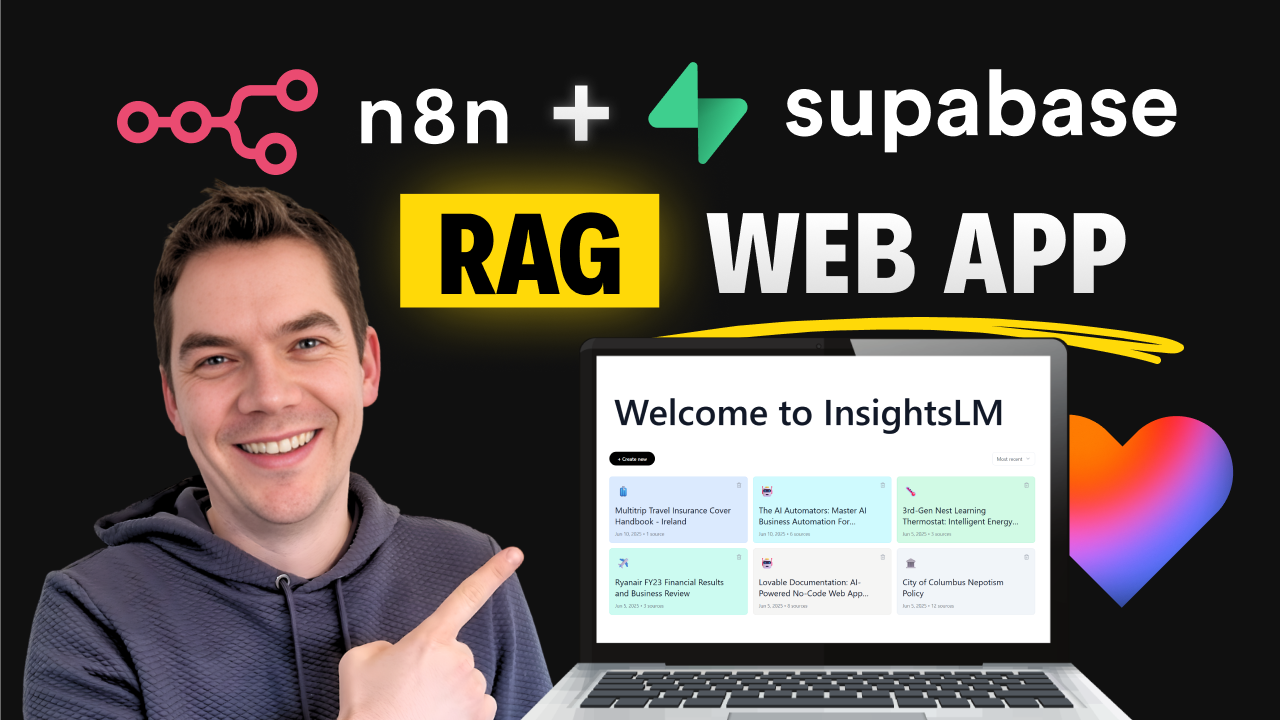
What if the power of a tool like NotebookLM wasn't locked away in a closed system? What if you could build a private, self-hosted alternative that can be customized for your business needs, all without writing a single line of code?
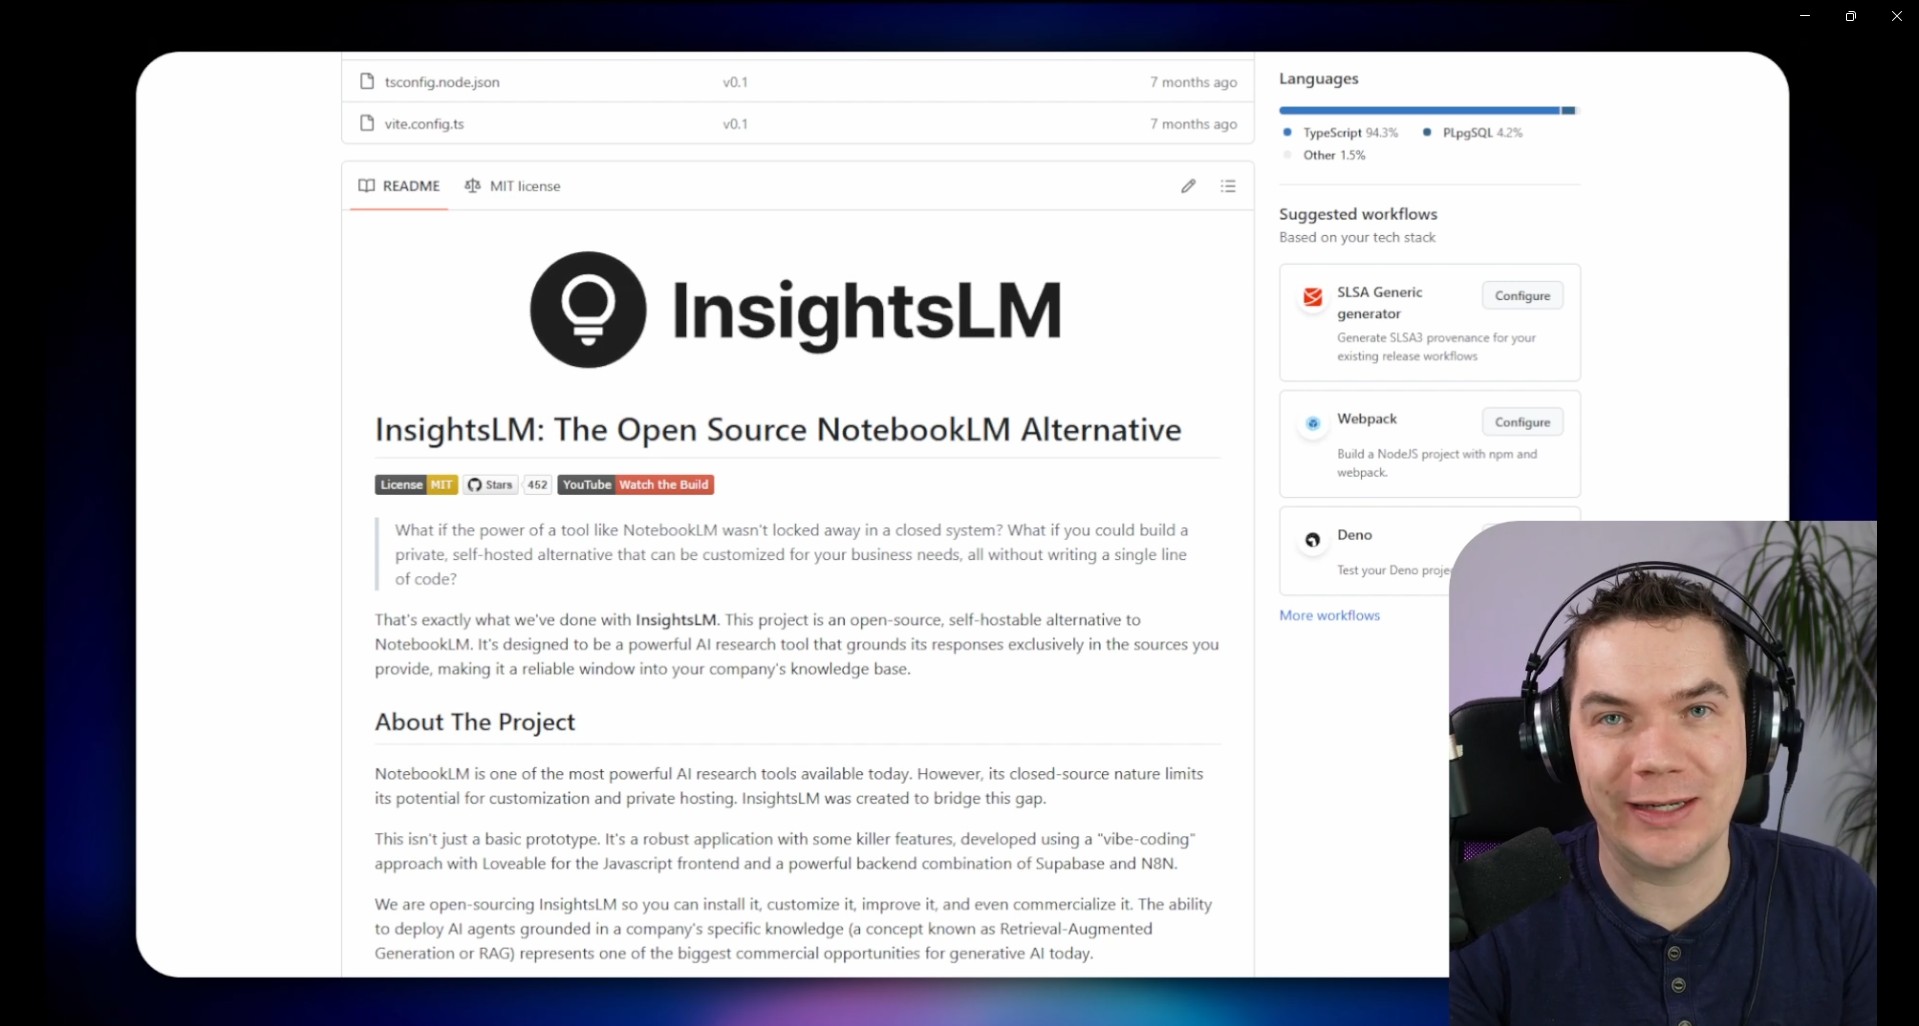
That's exactly what we've done with InsightsLM. This project is an open-source, self-hostable alternative to NotebookLM. It's designed to be a powerful AI research tool that grounds its responses exclusively in the sources you provide, making it a reliable window into your company's knowledge base.
NotebookLM is one of the most powerful AI research tools available today. However, its closed-source nature limits its potential for customization and private hosting. InsightsLM was created to bridge this gap.
This isn't just a basic prototype. It's a robust application with some killer features, developed using a "vibe-coding" approach with Loveable for the Javascript frontend and a powerful backend combination of Supabase and N8N.
We are open-sourcing InsightsLM so you can install it, customize it, improve it, and even commercialize it. The ability to deploy AI agents grounded in a company's specific knowledge (a concept known as Retrieval-Augmented Generation or RAG) represents one of the biggest commercial opportunities for generative AI today.

This version of InsightsLM relies on cloud AI services like OpenAI and Gemini.
If you'd like to setup a fully local version of this that uses Ollama and Qwen3 along with Whisper and CoquiTTS, then check out our other repo below
If you're interested in learning how to customize InsightsLM or build similar applications, join our community, The AI Automators.
https://www.theaiautomators.com/
- Chat with Your Documents: Upload your documents and get instant, context-aware answers.
- Verifiable Citations: Jump directly to the source of the information to ensure the AI isn't hallucinating.
- Podcast Generation: Create audio summaries and discussions from your source materials, just like in NotebookLM.
- Private and Self-Hosted: Maintain complete control over your data by hosting it yourself. Use local models if you wish.
- Customizable and Extensible: Built with modern, accessible tools, making it easy to tailor to your specific needs.
For a complete demonstration of InsightsLM, an overview of its architecture, and a step-by-step guide on how to set it up, check out our YouTube video:
This project is built with a modern, powerful stack:
- Frontend:
- Backend:
⚠️ Why This Guide Has Been UpdatedSupabase has introduced a new authentication system and is moving towards new publishable + secret keys in place of the anon + service role secret, placing the old ones on a "legacy" footing. As a result, the edge functions in this repository have been updated to handle security, authentication, and authorization within the code of the function itself. This allows us to disable the "Verify JWT" flag on the functions. Make sure you have the latest copy of the edge functions from this repository.
This guide provides the quickest way to get InsightsLM up and running so you can test, customize, and experiment.
I recommend you following along with our video here for the full step by step guide - https://youtu.be/Nla35It-xfc
You will need a notepad file open to copy and paste in various credentials and details.
- Create Supabase Account and Project
- Go to Supabase.com and create a free account.
- Create a new project. Paste in your
database passwordinto your open notepad file as you will need this later.
- Create GitHub Account & Repo from Template
- If you don't have one, create a free account on GitHub.
- Navigate to the InsightsLM template repository here: github.com/theaiautomators/insights-lm-public
- Click the
Use this templatebutton to create a copy of the repository in your own GitHub account. Fill out the form.
- Import into Bolt.new and Connect Supabase
- Create an account on Bolt.new as it supports Supabase integration. (While the project was built on Loveable, it is currently quite difficult to import existing Github projects into Loveable)
- Import your newly created GitHub repository into your Bolt project. You will need to link your Github account to Bolt. Choose the repo and import.
- Wait until Bolt imports the full codebase before proceeding.
- To connect Supabase, go to the Cog icon > Database > Advanced > Connect to an existing database
- You should see a message: "Supabase project was connected successfully"
- You'll get a "missing secrets" popup - you can safely ignore this.
- Now type in the Bolt chat:
Execute the database migration in script 20250606152423_v0.1.sql in the supabase/migrations folder - (Note: You may need a paid Bolt account for this step to succeed)
- Once the migration succeeds, type:
Now deploy the edge functions in the supabase/functions folder and set the Verify JWT with legacy secret flag to false as we are handling auth within the edge function code
- Verify Edge Functions Config
- The edge functions will now be available in the Supabase dashboard.
- Important: Go into each edge function in the Supabase dashboard and ensure the "Verify JWT with legacy secret" option is set to False. If its enabled, then disable it. The updated edge functions now handle authentication internally.
- Import and Configure N8N Workflows
- The
/n8ndirectory in this repository contains the JSON files for the required N8N workflows. There are 2 approaches here.- The easiest is to import the "Import_Insights_LM_Workflows.json" file into a new workflow in n8n and follow the steps in the video. This includes configuring an n8n API key which will be used to auto-create all workflows needed by the system. You will also need to set various credentials.
- Instead of using the above workflow importer, you can instead download and import the 6 JSON workflows in this directory. You will need to go node by node in each workflow to configure them for your services. (e.g. Supabase, OpenAI, Gemini, Sub-Workflows etc). Follow the TODOs in each workflow.
- The
- Add N8N Webhooks to Supabase Secrets
- Your N8N workflows are triggered by webhooks from the Supabase Edge Functions. If you used the workflow importer, you will have the list of N8N secrets to create. Otherwise you'll need to gather these from the various workflows.
- In your Supabase project dashboard, navigate to
Edge Functions->Secretsand add the following secrets. This allows the Supabase Edge Functions to securely call your N8N workflows. - These are the secrets that need to be created
- NOTEBOOK_CHAT_URL
- NOTEBOOK_GENERATION_URL
- AUDIO_GENERATION_WEBHOOK_URL
- DOCUMENT_PROCESSING_WEBHOOK_URL
- ADDITIONAL_SOURCES_WEBHOOK_URL
- NOTEBOOK_GENERATION_AUTH (This is the password for the custom Header Auth for each n8n Webhook)
- OPENAI_API_KEY (This is used in the Generate Note Title edge function)
- Test & Customize
- That's it! Your instance of InsightsLM should now be live.
- You can now test the application, upload documents, and start chatting.
- Within Bolt.new you can also deploy this to Netlify
⚠️ Do NOT use the "Publishable API Key" from the Supabase dashboard.
- Go to Project Settings > API Keys > Legacy service role API Keys
- For all credentials in n8n, the IDs are available both in the URL (as shown in the video) and in the Details tab of the credential.
- Do NOT add "Bearer" or any prefix to the password - just enter the password value directly.
- In the connection popup, click Method: Transaction Pooler - this will show the values you need (also demonstrated in the video).
⚠️ Important for n8n v2 Users
In n8n version 2, you need to publish your workflows (not just activate them). The frontend app calls the published version of each workflow, so if you don't publish, the app will use an older version even though you see changes in the editor.
Publishing Order (Important!):
- First: Publish the
Extract Textsub-workflow - Second: Publish the
Upsert to Vector Storeworkflow - Then: Publish the remaining workflows
Any time you make changes to n8n workflows, you must publish those changes in n8n. Otherwise, the frontend app will continue calling the older published version, and you'll see different behavior than what's shown in the editor.
If you're running n8n self-hosted, the Podcast Generation workflow uses CLI nodes that require specific environment variables to be enabled:
NODES_EXCLUDE=[]
This setting allows the CLI nodes to be available. Without it, the CLI nodes will be hidden and the workflow won't function properly.
The Podcast Generation workflow requires FFMPEG to be installed on your n8n server. For official download options and documentation, see the FFmpeg Download Page.
⚠️ n8n Cloud Users: This is not possible on n8n Cloud as you need SSH access to your n8n server. FFMPEG installation requires direct server access, which is only available with self-hosted n8n.
⚠️ Note: These instructions are a rough guide. The exact steps will vary depending on your installation method, environment, server configuration, and existing setup.
If you're running n8n via Docker Compose, create a custom Dockerfile that extends the base n8n image:
1. Create a Dockerfile in your project directory:
FROM n8nio/n8n:latest

USER root
RUN apk add --no-cache ffmpeg
USER node
2. Update your docker-compose.yml to build from this Dockerfile:
services:
  n8n:
    build:
      context: .
      dockerfile: Dockerfile
    # ... rest of your existing n8n config (ports, volumes, environment, etc.)
Instead of:
services:
  n8n:
    image: n8nio/n8n:latest
3. Build and run:
docker compose build
docker compose up -d
4. When updating n8n, rebuild with:
docker compose build --pull
docker compose up -d
The --pull flag ensures you grab the latest base image before building.
If n8n is installed directly on your server OS (not in Docker), SSH into your server and run the appropriate commands:
Ubuntu/Debian:
sudo apt update
sudo apt install ffmpeg
RHEL 8/9/10, Rocky Linux, AlmaLinux, CentOS Stream:
First, install EPEL, then add the RPMFusion repository (see official RPMFusion configuration):
# Install EPEL first (required for RPMFusion)
sudo dnf install --nogpgcheck https://dl.fedoraproject.org/pub/epel/epel-release-latest-$(rpm -E %rhel).noarch.rpm

# Install RPMFusion free repository
sudo dnf install --nogpgcheck https://mirrors.rpmfusion.org/free/el/rpmfusion-free-release-$(rpm -E %rhel).noarch.rpm

# Install ffmpeg
sudo dnf install ffmpeg
Amazon Linux 2023:
sudo dnf install ffmpeg-freeAlpine (common in Docker):
apk add ffmpegAlternative: Linux Static Builds
If package installation isn't possible on your system, you can download pre-compiled static builds from the FFmpeg Download Page. These don't require installation - just download, extract, and add to your PATH.
After installation, verify FFMPEG is available:
ffmpeg -versionContributions make the open-source community an amazing place to learn, inspire, and create. Any contributions you make are greatly appreciated.
- Fork the Project
- Create your Feature Branch (git checkout -b feature/AmazingFeature)
- Commit your Changes (git commit -m 'Add some AmazingFeature')
- Push to the Branch (git push origin feature/AmazingFeature)
- Open a Pull Request
This codebase is distributed under the MIT License.
While InsightsLM is fully open-sourced and Supabase is also open source, it's important to be aware that n8n, which powers much of the backend automation, is not open source in the traditional sense.
n8n is distributed under a Sustainable Use License. This license allows free usage for internal business purposes, including hosting workflows within your company or organization.
However, if you plan to use InsightsLM as part of a commercial SaaS offering—such as reselling access or hosting a public version for multiple clients—you may need to obtain an n8n Enterprise License. We’re not lawyers, so we recommend that you review the n8n license and contacting their team if your use case falls into a commercial category.
Alternatives: If your use case is restricted by the n8n license, one potential option is to convert key workflows into Supabase Edge Functions. This would allow you to fully avoid using n8n in production.