
🏄♀️ Marketplace front-end and backend server to explore, download, and publish open data sets. https://commons.oceanprotocol.com

🦑🦑🦑
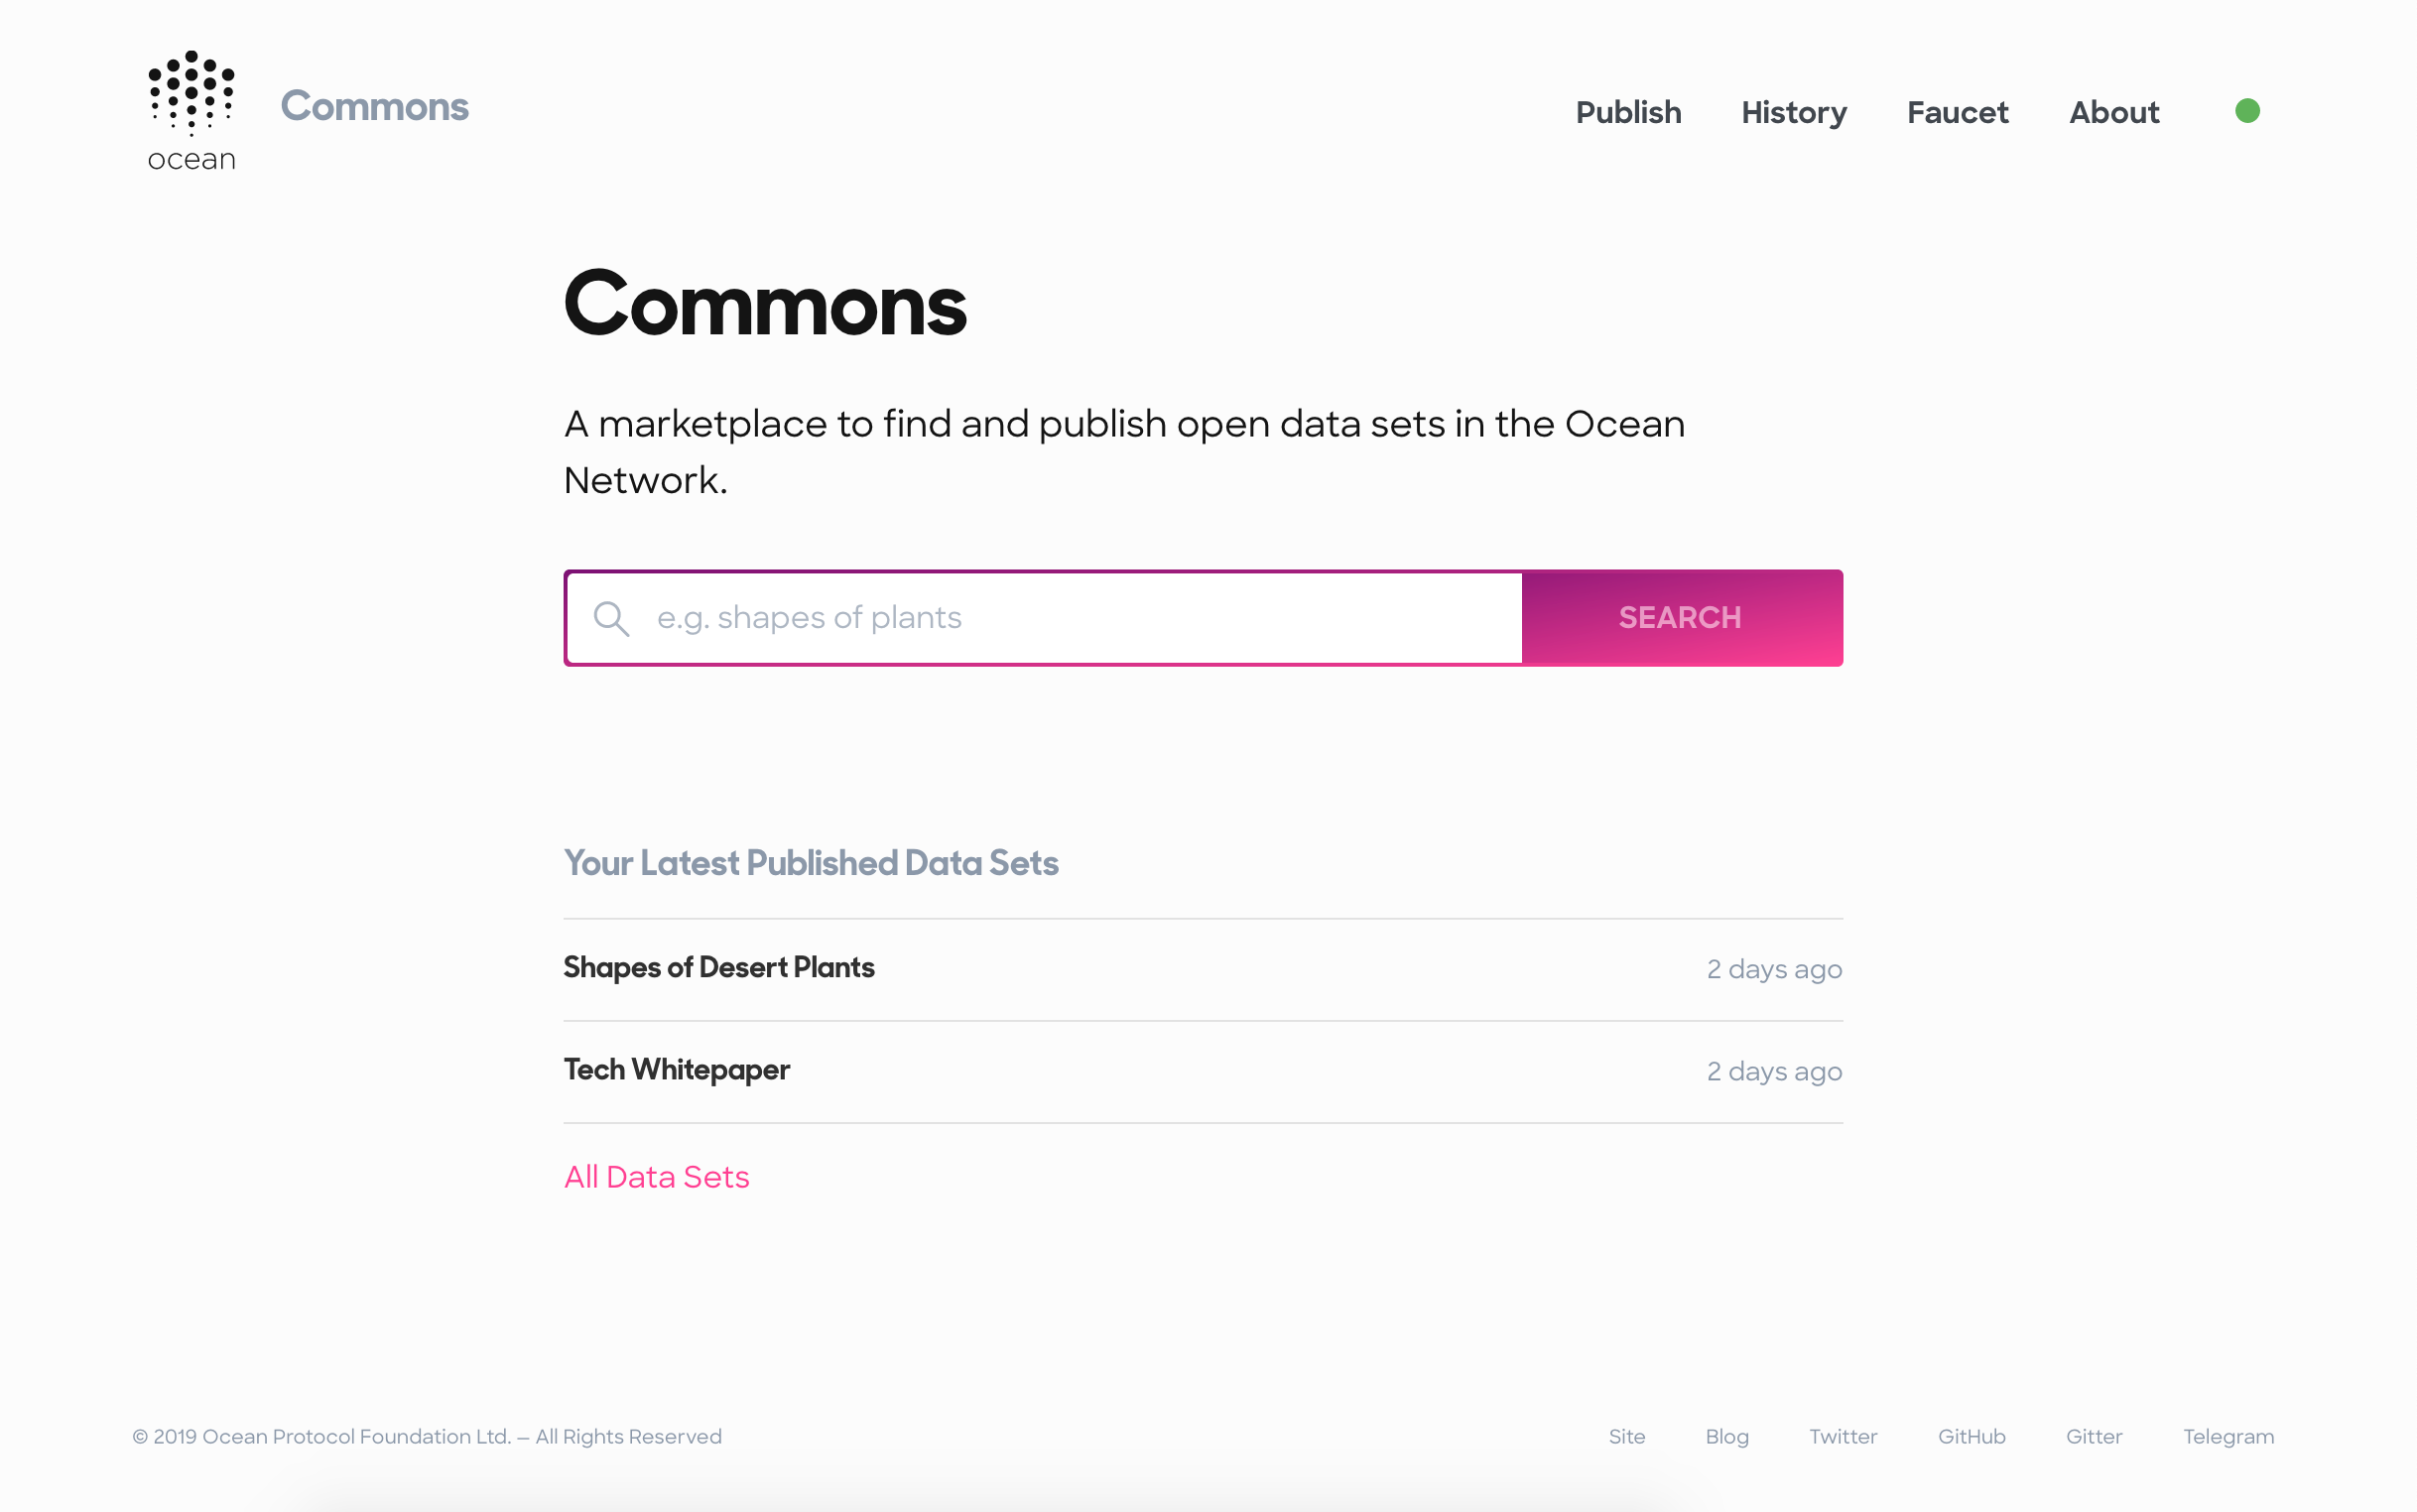
This marketplace is deployed under commons.oceanprotocol.com and can be used there. Feel free to report any issues you encounter.
🦑🦑🦑
If you're a developer and want to contribute to, or want to utilize this marketplace's code in your projects, then keep on reading.
- 🏄 Get Started
- 👩🔬 Testing
- ✨ Code Style
- 🛳 Production
- ⬆️ Releases
- 📜 Changelog
- 🎁 Contributing
- 🏛 License
This repo contains a client and a server, both written in TypeScript:
- client: React app setup with squid-js, bootstrapped with Create React App
- server: Node.js app, utilizing Express. The server provides various microservices, like remote file checking. The endpoints are documented in server Readme.
To spin up both, the client and the server in a watch mode for local development, execute:
npm install
npm start
Open http://localhost:3000 to view the client in the browser. The page will reload if you make edits to files in either ./client or ./server.
To make use of all the functionality, you need to connect to an Ocean network.
By default, the client will connect to Ocean components running within Ocean's Pacific network remotely.
By default, the client uses a burner wallet connected to the correct network automatically. If you choose to use MetaMask, you need to connect to the Pacific network. To do this:
- select Custom RPC in the network dropdown in MetaMask
- under New Network, enter
https://pacific.oceanprotocol.comas the custom RPC URL - Hit Save, and you’re now connected to Pacific
If you prefer to connect to locally running components instead of remote connections to Ocean's Nile network, you can spin up barge and use a local Spree network:
git clone git@github.com:oceanprotocol/barge.git
cd barge

# startup with local Spree node
./start_ocean.sh --no-commons
Then set environment variables to use those local connections.
Finally, you need to copy the generated contract artifacts out of the Docker container. To do this, execute this script in another terminal:
./scripts/keeper.shThe script will wait for all contracts to be generated in the keeper-contracts Docker container, then will copy the artifacts in place.
If you are on macOS, you need to additionally tweak your /etc/hosts file so Brizo can connect to Aquarius. This is only required on macOS and is a known limitation of Docker for Mac:
sudo vi /etc/hosts

# add this line, and save
127.0.0.1    aquarius
Then use this host for the local Aquarius url in the client config:
REACT_APP_AQUARIUS_URI="http://aquarius:5000"The ./client/src/config.ts file is setup to prioritize environment variables for setting each Ocean component endpoint.
By setting environment variables, you can easily switch between Ocean networks the commons client connects to, without directly modifying ./client/src/config.ts. This is helpful e.g. for local development so you don't accidentially commit changes to the config file.
For local development, you can use a .env.local file. There's an example file with the most common network configurations preconfigured:
cp client/.env.local.example client/.env.local

# uncomment the config you need
vi client/.env.localThe server uses its own environment variables too:
cp server/.env.example server/.env

# edit variables
vi server/.envBeside configuring the network endpopints, the client allows to activate some features with environment variables in client/.env.local:
| Env Variable | Feature Description |
|---|---|
REACT_APP_SHOW_CHANNELS |
Show the channels feature which shows assets based on a certain tag in a prominent view. This is deeactivated by default and only activated in live Commons deployments. |
REACT_APP_SHOW_REQUEST_TOKENS_BUTTON |
Shows a second button on the /faucet route to request Ocean Tokens in addition to Ether. Will only work in Ocean testnets. |
REACT_APP_ALLOW_PRICING |
Activate pricing feature. Will show a price input during publish flow, and output prices for each data asset. |
| Env Variable | Example | Feature Description |
|---|---|---|
client: REACT_APP_IPFS_GATEWAY_URIserver: IPFS_GATEWAY_URI |
"https://ipfs.oceanprotocol.com" |
The IPFS gateway URI. |
REACT_APP_IPFS_NODE_URI |
"https://ipfs.oceanprotocol.com:443" |
The IPFS node URI used to add files to IPFS. |
REACT_APP_REPORT_EMAIL |
"jelly@mcjellyfish.com" |
The email used for the report an asset feature. |
Test suite is setup with Jest and react-testing-library for unit testing, and Cypress for integration testing.
To run all linting, unit and integration tests in one go, run:
npm testThe endpoints the integration tests run against are defined by your Environment Variables, and Cypress-specific variables in cypress.json.
For local development, you can start the test runners for client & server in a watch mode.
npm run test:watchThis will work for daily development but it misses the full interactivity of the test runner. If you need that, you will need to run them in individual terminal sessions:
cd client/
npm run test:watch

cd server/
npm run test:watchTo run all integration tests in headless mode, run:
npm run test:e2eThis will automatically spin up all required resources to run the integrations tests, and then run them.
You can also use the UI of Cypress to run and inspect the integration tests locally:
npm run cypress:openFor linting and auto-formatting you can use from the root of the project:
# auto format all ts & css with eslint & stylelint
npm run lint

# auto format all ts & css with prettier, taking all configs into account
npm run formatTo create a production build of both, the client and the server, run from the root of the project:
npm run buildBuilds the client for production to the ./client/build folder, and the server into the ./server/dist folder.
From a clean master branch you can run any release task doing the following:
- bumps the project version in
package.json,client/package.json,server/package.json - auto-generates and updates the CHANGELOG.md file from commit messages
- creates a Git tag
- commits and pushes everything
- creates a GitHub release with commit messages as description
You can execute the script using {major|minor|patch} as first argument to bump the version accordingly:
- To bump a patch version:
npm run release - To bump a minor version:
npm run release minor - To bump a major version:
npm run release major
By creating the Git tag with these tasks, Travis will trigger a new Kubernetes live deployment automatically, after a successful tag build.
For the GitHub releases steps a GitHub personal access token, exported as GITHUB_TOKEN is required. Setup
See the CHANGELOG.md file. This file is auto-generated during the above mentioned release process.
See the page titled "Ways to Contribute" in the Ocean Protocol documentation.
Copyright 2018 Ocean Protocol Foundation Ltd.

Licensed under the Apache License, Version 2.0 (the "License");
you may not use this file except in compliance with the License.
You may obtain a copy of the License at

   http://www.apache.org/licenses/LICENSE-2.0

Unless required by applicable law or agreed to in writing, software
distributed under the License is distributed on an "AS IS" BASIS,
WITHOUT WARRANTIES OR CONDITIONS OF ANY KIND, either express or implied.
See the License for the specific language governing permissions and
limitations under the License.